Monday, November 15, 2010

VBF and studio shot

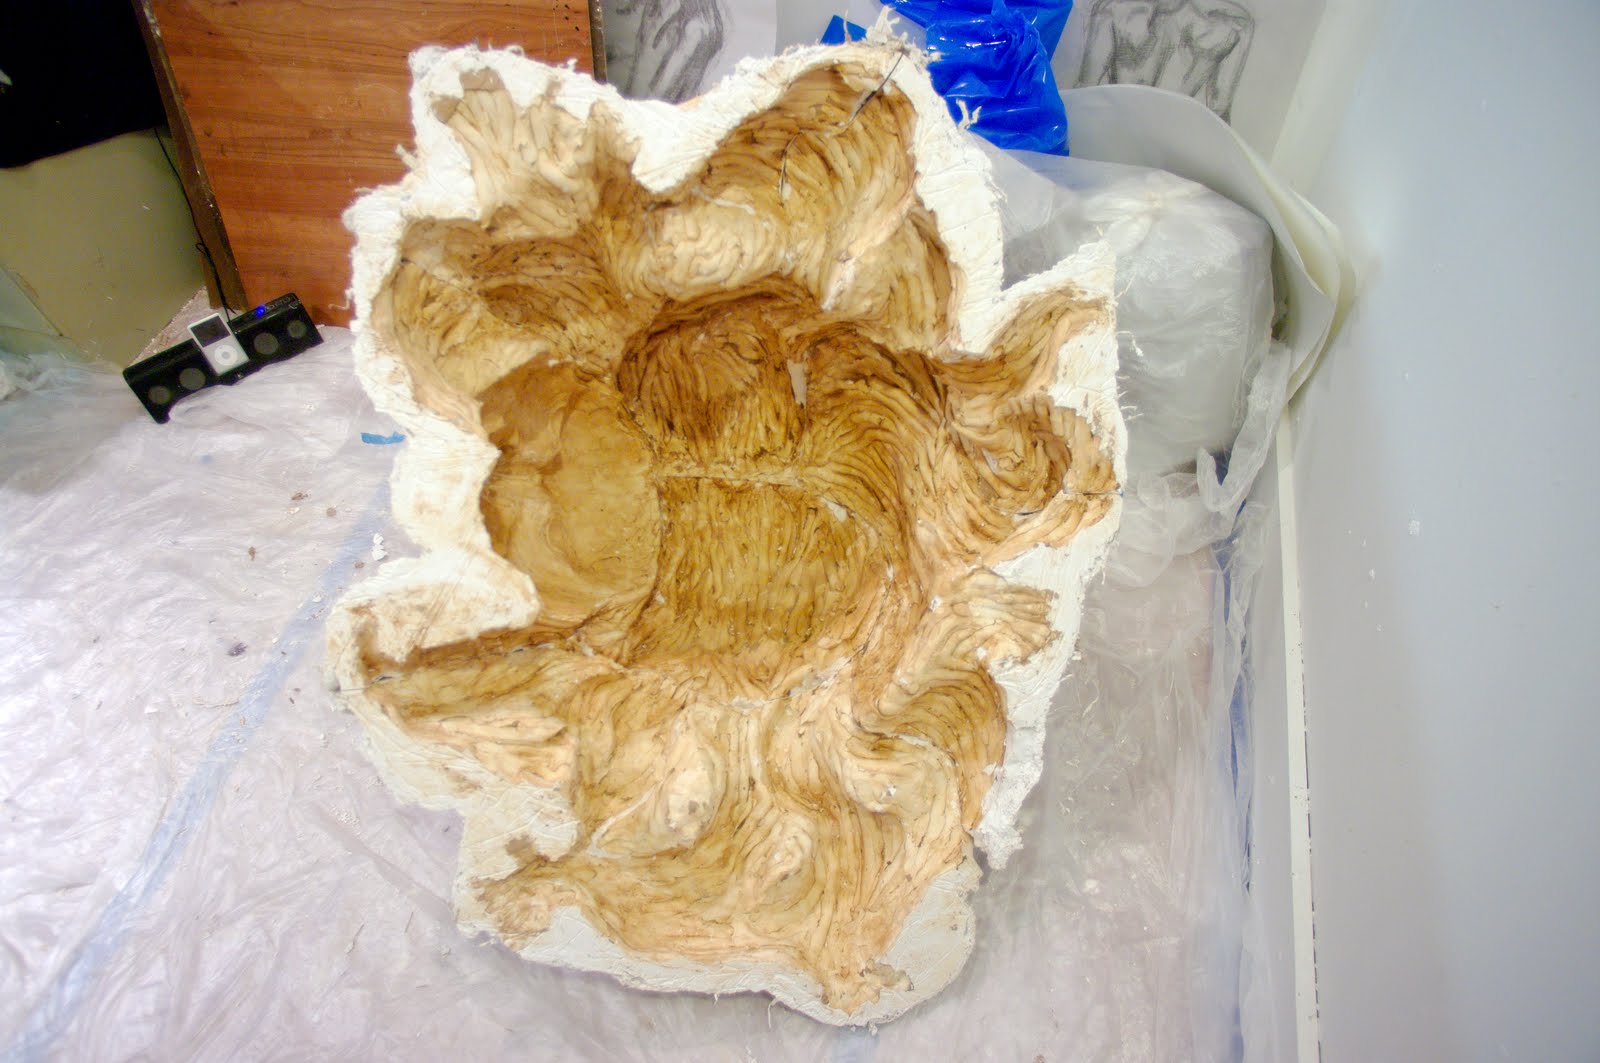
In the photo below I tried to get as much of my studio space into the frame as possible. As you can see the space is about a third the size of the studio I had this summer and it is getting a bit crowded. I cast and broke out the smiling face from the mold that I posted about a bit ago. Now it is shellacked and spray painted blue to go with the aquatic theme, which relates to the model's major as a maine bioligist. The photo also give an idea of the scale of the VBF. I have added about three quarters of the clay now and I've started shaping it onto general features. To the immediate right of the VBF you can see a photograph I tok of myself with my head fitted into a box to give the same illusion that it is sitting in a corner. Lastly there are five drawings that are visible on the back wall of the studio that I have started working with. I wanted to reserve the charcoal figure drawings to I fitted a piece of plexiglass on top of each and now I am experimenting with paint on top of the plexi.

VBH: Clean and Ready to Ship

The last thing the caster did was to clean the pieces of any remaining clay, sand down the sharp edges where the fiberglass was sticking out, and build a giant 6'x6' crate. In the images below there are no longer the dark lines at the seems and the whole thing looks frosty and fresh.
In the image below you can notice that the caster cut a u-shape out of the wooden stand the sculpture is sitting on. He did this so that when the mold pieces were all bolted together he could crawl under the head and inside of it to add the layers of resin. I was against this idea, suggesting that he leave on of the pieces off to give himself more air while working with such toxic material, but working with the closed piece gave it the tightest alignment. It looks amazing and I can wait to receive it in Massachusetts.

Tuesday, November 9, 2010

The VBH revealed

After deciding to go with expoy resin (for the sake of the neighbors we chose the product that would have the least toxic smell) and choosing a sample that was the perfect color and translucency the first cast was made! I wanted the resin to be a pale blue that light coud be visible though, like ice.
The final presentation won't have such dramatically dark line the way that the sculpture has in these photographs. These are photographs of the cast right after the pieces of the mold have been removed, so the aluminum shims are still sitting in the seem lines causing them to have a dark outline.

Monday, November 8, 2010

New Project. . . The VBF


I'm building an armature for a new and final project that is a large face. I am using a combination of chicken, dow board, spray foam, burlap, and plaster as I learn to do from the VBH armature. I will cast it with a piece mold and then display in vertical sections. I am modeling for myself for this piece, so it will be a kind of self portrait. Since it is similar to the VBH that started this body of work I have decided to call it the Very Big Face or VBF. This will be the last large project I build before my Div III show in December.

Monday, October 25, 2010

Finished Mold of the VBH

I went back to California for a couple of day and had the chance to meet up with my caster. He has cleared away the 3000 pounds of clay and the underlying armature. Now all that remains in the studio is the beautiful polyurethane rubber mold sitting inside the plaster mother mold. In the first photo below you can see that he has started adding shims along the seem lines in preparation for adding the first layer of resin to a section. We discussed what type of resin he should use, polyester or epoxy, and we agreed that he would send me some samples.


Wednesday, October 13, 2010

Waste Mold

I have documented the process of making the waste mold for my sculpture of a smiling head. If you scroll down to the bottom of the post you can see the step by step of the mold making process.
After I cleared away the clay sculpture and armature I put the pieces back together and used segments of bike tires to tie the pieces into place at their supports. After letting the mold dry and letting my swollen finger rest, I turned the mold over with some help because it was very heavy.
After the burlap and wood supports were added I began to remove the individual mold pieces from the clay sculpture. The suction of the clay and the complicated detail of the hair made this process very difficult. After releasing the first piece I chose to collapse the armature inside the clay sculpture and remove the clay around it to make the remaining sections of the mold easier to release.


At this point the mold is half made. The first 3 photos showed the seem lines being created with aluminum shims, the first splatter coat, and the slip layer. I still need to add a layer of burlap and then some wood supports. At this point I had to stop working because my left hand ring finger started to become sore (I have "trigger finger," a sort of inflammation of the flexor sheath at the base of my ring finger causing it to stiffen and lock up).
Then I added some brush strokes of slip which will help me later when I need o remove the layer of burlap that I will be adding next.
Next I added the first layer of plaster over the whole thing. I used molding plaster which is much softer and easier to break away later then the plaster I will use for casting the piece.
I began to make the waste mold by deciding where the seam lines would be and building in shim walls. This was difficult because I had to imagine decide how large I could make a piece before it wrapped around too much of the sculpture and would then not be able to be removed. I managed to break it down into six pieces.

Monday, October 11, 2010

Smiling Head before casting

Now the head has more definite features. I am still not satisfied with the volume of the hair or the proportion and depth of the facial features, however I am enjoying the work.